After a short hiatus during the 1982 production run, manual transmissions were installed once again installed in Corvettes staring with the 1984 model year. The 4+3 Doug Nash transmission was the first to be introduced into the C4, later replaced by the ZF 6-speed. New for the C4 Corvettes, both of these transmissions used the hydraulic clutch system. There were a few minor changes that occurred during the C4 production run but the system remained largely the same thus the steps to repair the system are the same.
When replacing any component for the clutch system it’s always advisable to replace the clutch master cylinder and the slave cylinder at the same time. Typically, both the slave and master cylinder are the same age and will fail around the same time. Replacing the fluid line between the master and slave is a good idea as well. All of these parts can be generally found at any auto parts store.
As will all instructions, it’s a good idea to read through them all first so that no surprises pop up along the way.
Remove the battery
It’s always a good idea to disconnect the battery to prevent any electrical problems while working on you C4. With this job, you should remove the battery. Removing the battery will simplify access to clutch master cylinder. To remove the batter you have to first remove the side access panel. There are 5 screws in the wheel well and one on top. There is a tricky hidden one at the bottom of the access panel.
If your C4 is a 1992 or newer Corvette you’ll also have to remove the computer from the mount. It is not necessary to disconnect the wires for the computer, simply remove the mounting bolts and carefully move it out of the way.
Remove the Slave Cylinder

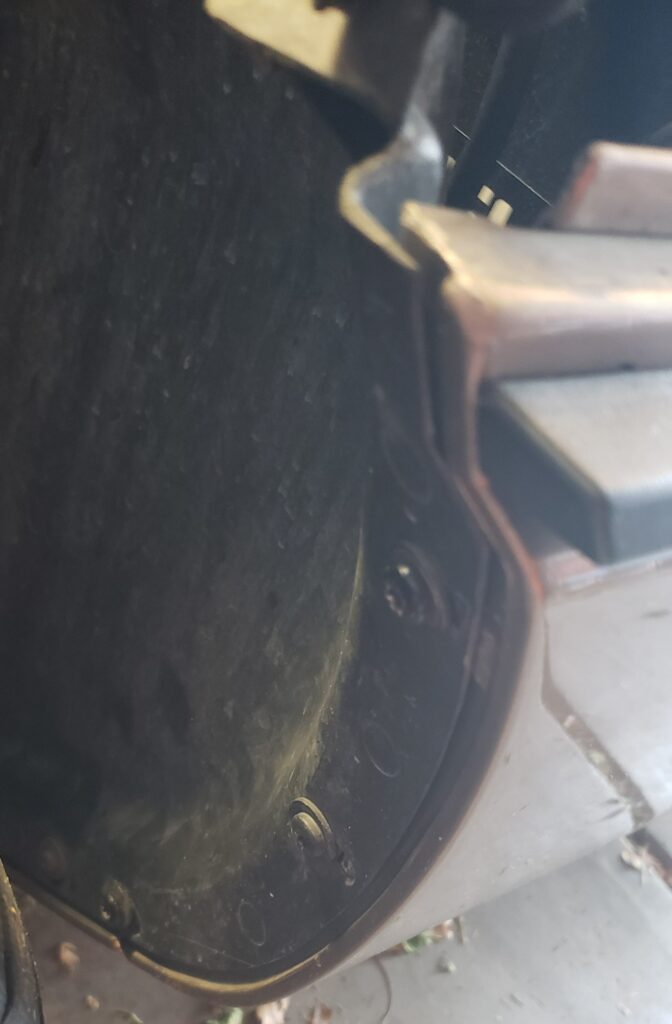
Removing the clutch slave cylinder is the first step. It can be accessed with the car on the ground but I would recommend getting your Corvette up on blocks or ramps. Its much easier to work on. Just remember, never just us a floor jack.
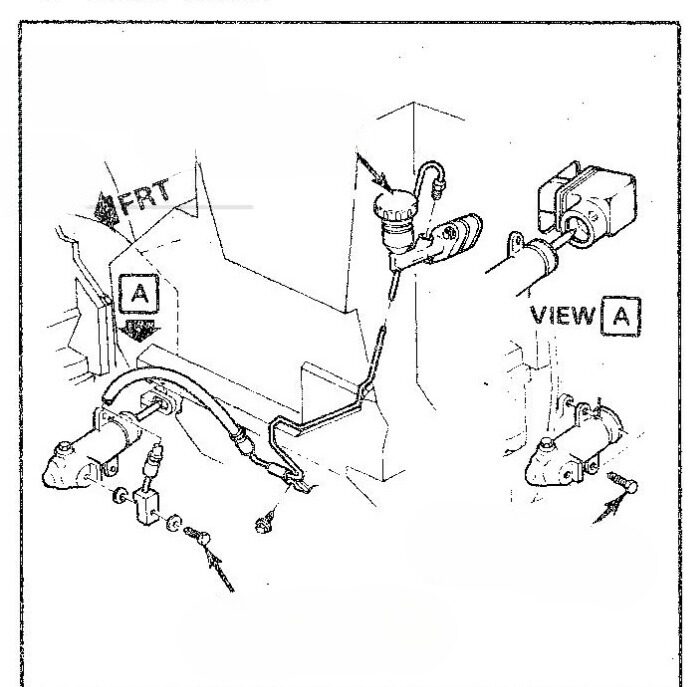
There are 2 nuts that hold the cylinder in place. With the slave cylinder remove from the bell housing you can reach the fitting on the fluid line to the master cylinder. It is best to use a tubing wrench when loosening the fitting if you have one available. If not, be very careful not round the fitting. With the slave cylinder removed from the bell housing, you can reach the fitting on the fluid line to the master cylinder.
Next remove the master cylinder. To get the master cylinder push rod connection, remove the inner panel under the driver side of the dash and the connections for the ALDL connector. Also, remove the interior light, take care when removing the panel so as not to damage the connection. There are two bolts that hold the clutch master cylinder in place that are located in the engine bay. Remove them once you can move the clutch master cylinder and you’re able to reach the line from the master cylinder to the slave cylinder.
Remove the and replace the Master Cylinder
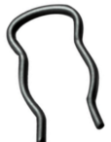
This clip holds the original clutch master cylinder push rod into the pedal assembly.
Remove it and slide the push rod off the pedal assembly then the clutch master cylinder can be removed. Getting the clip off can be a little tricky.
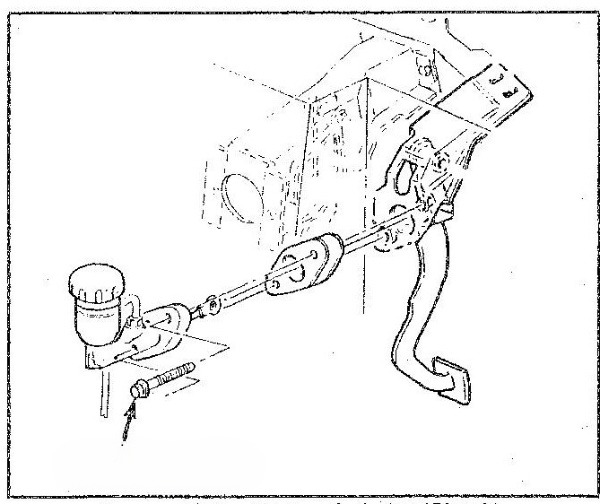
There are two ways to get to the clip, one was is to suspend yourself upside down under the dash with your feet sticking up out of the top, good idea to have the targa top out. I’ve also seen others mention taking out the seat to make access easier. I was able to get to it by just opening the drivers side door and sticking my head under without hanging upside down. That way seemed a lot easier to me.
Take note of the spacer between the firewall and the clutch master cylinder. Make sure you don’t forget to install it with the new master cylinder or you will have to start all over and do the process again. You don’t want to do this twice, trust me. Hook up the line to the clutch master cylinder in both of new clutch master cylinder to the firewall with the aluminum spacer. The new clutch master cylinder should have the clip already installed in the push rod so you won’t need to use the old one.

Add Brake Fluid and Slave Cylinder
Fill the slave cylinder with new brake fluid. DOT3 is recommended. Brake fluid can be very slick and nasty, be careful not to spill it if you can. You fill the slave at your workbench or underneath the car, just be sure to keep the opening tilted upwards. Once the slave cylinder is full, fill the master cylinder, the brake fluid will start to gravity feed down the line to where the slave cylinder should be connected. While the fluid is draining through the tube, connect the slave cylinder. This process is best done with 2 people. One person hooking up the slave and the other making sure there is enough fluid still in the master. Make sure to keep the connection at the highest possible point until you get it full. Keeping the connection pointed upward the flow of fluid from the master cylinder should push any air out of the system.
If you still have air in the system there’s a bleeder on the slave cylinder, make sure the bleeder is pointed straight up at it’s highest point when you open it so the air will escape before the fluid does. Typically, if you keep the line connected and the master cylinder didn’t run this step shouldn’t be necessary, that can be a big if, this part of the process can be a real pain in the ass. The hydraulic clutch system void of air and the clutch slave installed and working properly, you can reinstall the battery and the side panel of the car.
Having an issue with bleeding your system after installing the new master and slave cylinder? Click here to see the best methods to get rid of that pesky air.
Conclusion
The process to remove and replace faulty master and slave cylinders is not a difficult one. If you take your time it can be completed in only a couple of hours. The 2 most difficult processes are removing the clip behind the clutch pedal and hooking the line up with the slave without getting air in the system. If your clutch pedal goes soft after completing this process it’s a good indication that there is still air in the line and you’ll have to redo the process of getting the slave cylinder attached to the feed line again.
Leave any comments or concerns about this process below. Know a good process to get the air out of the line if the clutch pedal is still going to the floor? Please leave the steps you have used to clear out the air in the system.
