I noticed my C4 riding a little wonky a while back when I drove it. Took a look around and noticed my front drivers side shock was leaking. I’ve only owned my C4 a few out of it’s 38 years so I wasn’t sure it the shocks were original or not. They looked like the could be the original. Either way time for new shocks and if I was doing the front I might as well do the back.
This page is only about changing out the fronts. One thing I was missing you will hear about as you read this is to get a shock socket to help remove your old ones. These are a GM shocks and this socket goes on the top of the socket to hold it in place while removing the top bolts. Don’t have one, there are ways to get around it.
When I started looking at new shocks I went back and forth about which ones to get. See my thought process on this page but I went with the KYB’s.
How to get to the shocks

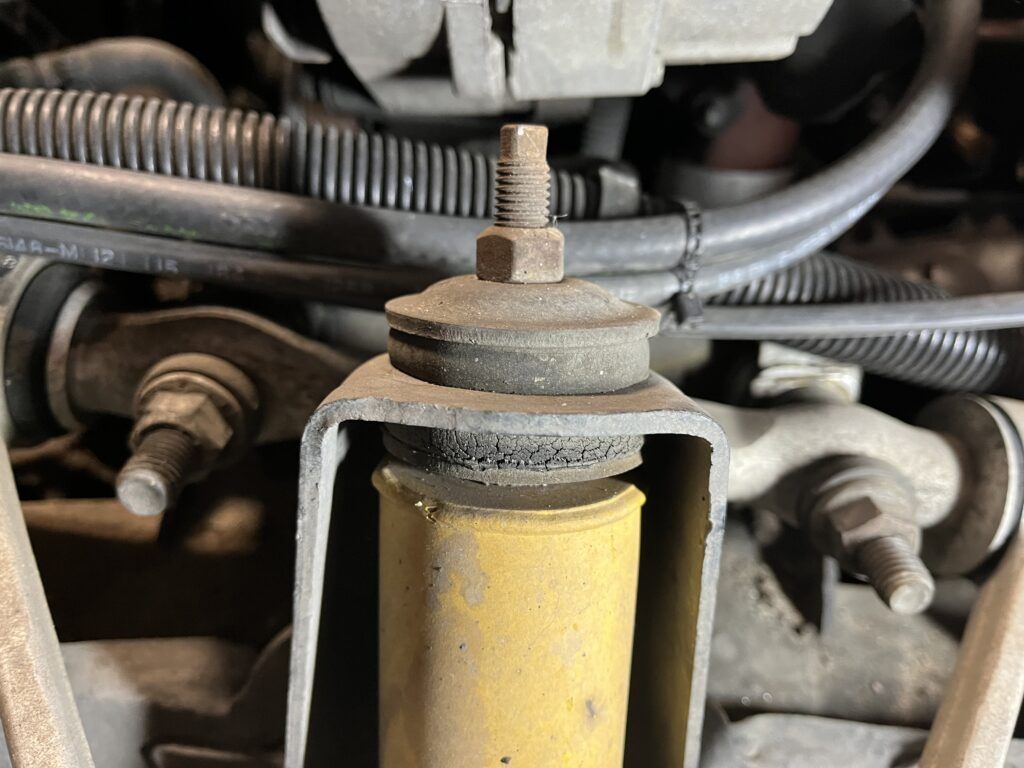
Getting to the front shocks is relatively easy. Just open the hood and look behind the wheels. If you C4 has the original shocks or the original shocks were replaced with the same Bilstein shocks they will be yellow. Mine were Bilsteins which made it very easy to see the lead as a dark fluid as running down them.
I’ve seen where other people said they changed the shocks out without removing the tires. Not sure if that is better or not but I removed mine. I started with the drivers side first, used a floor jack to lift and then put jack stands to hold the C4 up to remove the tire.
As I’ve mentioned before, never use just your floor jack to keep your C4 or any car raised because they can give out and crush you or anything under the car. Plus you’ll need your floor jack to lift the wheel hub when tightening down the new shocks.
Removing the old shocks
There are a couple of different ways to remove the shocks. With the tire removed you will notice a panel blocking the top half of the shock adding to the removal difficulty. If you can, it’s easiest to remove the shock with this panel gone. It is not absolutely necessary to remove it.
On my 1985 C4, I removed the drivers side panel protecting the shock but not the passenger side. Why, a couple of reasons. They drivers side is much easier to remove. There are several bolts holding the panel in place. Second, someone in the past must have replaced the front shocks because the harder to reach bolts, on the bottom side of the panel had already been removed. I only had to remove the 7 or so bolts that faced the wheel, not the bottom bolts. Also, the passenger side did not have all these bolts pre-removed for me. There are also several hoses and lines attached to the passenger side that have to be removed to get the panel off. This is only to remove the top bolt from the shock. It has nothing to do with the bottom two bolts holding the bottom of the shock. Those are easily accessible.
On my C4 I did not need to hold, from the bottom the two bolts. I could simply remove them from the top.
So in, review, I took the panel off the drivers side but not the passenger side and I was able to replace both. They direction you choose on your C4 is entirely up to you.
Issues I came across to remove the old ones
They old Bilstein shocks required a shock remover socket to keep the shock from turning to be able to remove the top nuts. I did not have one at the time and every auto parts store within a reasonable difference didn’t have one in store. Amazon could ship me one the next day but I really wanted to get this completed the day I was working on it. I tried to find a ratchet or something to hold the top of the shock in place but nothing I had worked. I even tried one of those universal sockets to hold the top but that didn’t work either.
What I ended up doing was using a grinder to cut off the top of the shock. I wasn’t planning on reusing the shock. Some Bilsteins can be shipped back and refurbished, if you are doing that i don’t recommend cutting off the top like I did.
Make sure to be very careful using a grinder and causing sparks around an engine and gasoline. I put some towels over the engine and tried to cover anything I thought shouldn’t get a spark on it. I took my time and started and stopped a few times so that nothing would get too hot in the engine area. And be sure to wear eye cover if you choose this method.
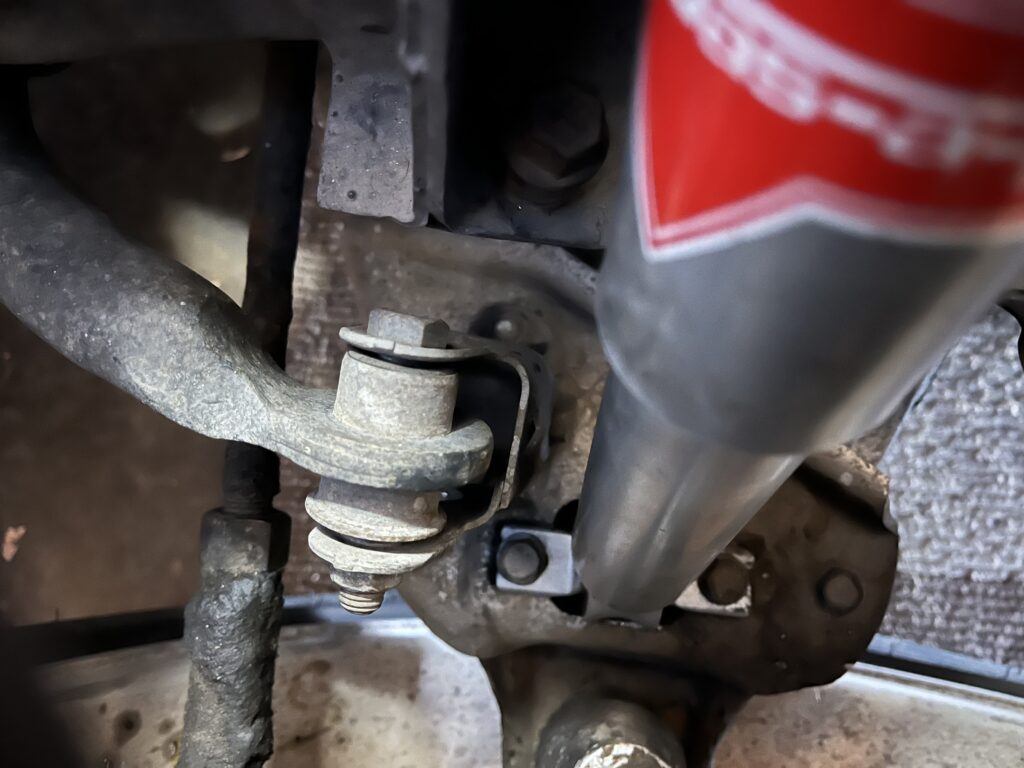
But with the ground off tip, it was easy to remove the old shock after undoing the two bottom nuts. With me changing to the KYB shocks, I needed to remove the bushings that were used with the old shocks. New bushings came with the KYB’s.
Attaching the new shocks
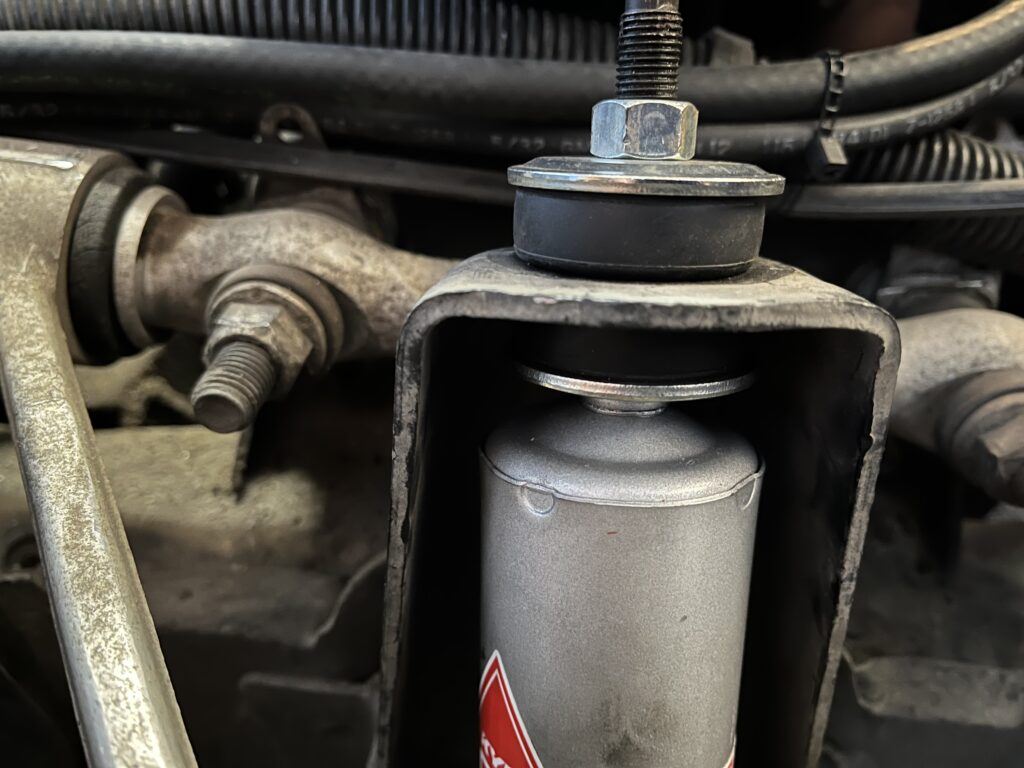
With the old shocks removed, it’s time to add the new ones. I put the top though first and then added the bottom. It’s a good idea to either have a floor jack to raise the wheel up to the height the vehicle is usually in or wait to get it back on the ground before doing the final tightening on the screws and bolts for the new shocks. You may also need to move the shock around to get it correctly in place.


Make should you get the new bushings on correctly. There should be 2 to use at the top of the shock. The opening for the top of the shock will be larger than the shock itself. They bushings, when used correctly will fill in that additional space for the shock to sit correctly. Make sure the part of the bushing that protrudes out slightly goes into the piece that holds the shock in place.
Tighten down to the shock specs. They bottom 2 on mine were torqued to 22 ft/lbs. Also, tighten the top until the bushing pushes out slightly to the same size as the metal spacer.
Conclusion
I hope this helps you change out your shocks on your C4. They process for the 1988 C4 and newer is slightly different for the shocks. If you’ve read this first it’s a good idea to get a shock socket to help remove the old shock and not use the Bubba technique I had to use and just cut the top of the shock off.
Go to this page to see the instructions for the rear shocks.
Got a comment or question? Please leave a comment below.

