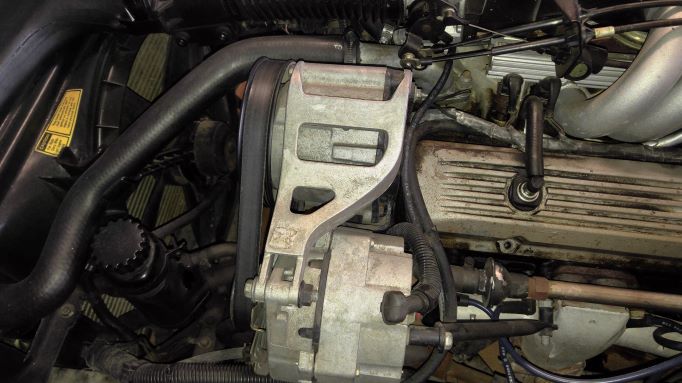
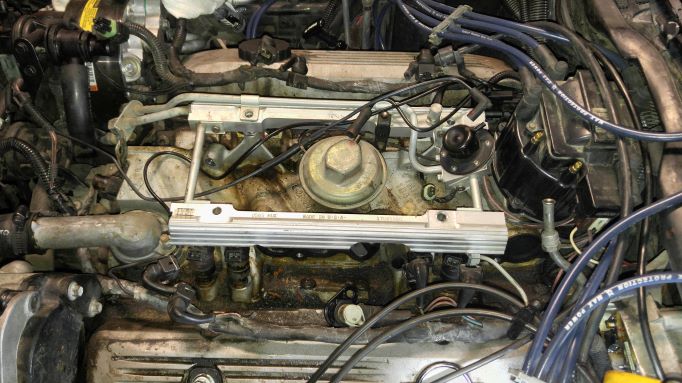
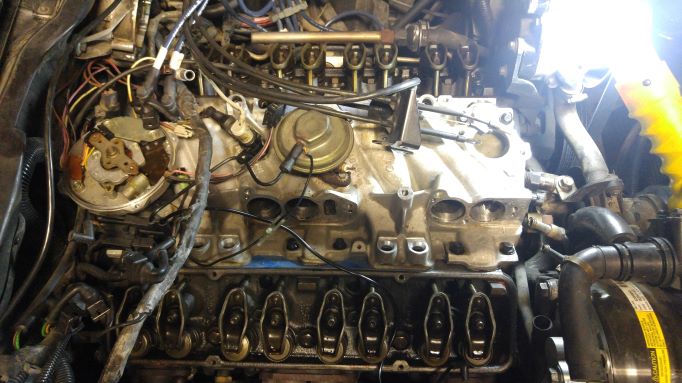
My C4 Corvette had a leak on the intake manual when I purchased it. How did I know it had a leaky intake manual on my C4 Corvette you ask? Good question. Here are some pictures of mine before the repair.
AS you can see there is oil and engine coolant on the top of the engine sitting on top of the intake. At this point I decided I wanted to remove the intake and replace the gasket to try to fix this leak.
The Best advice before and during taking off the intake
Probably the best advice I can give, and it’s all throughout my web page is to TAKE PICTURES AS YOU TAKE THINGS APART! Pictures can be your go to when you’re not sure where things go, still pictures or a video.
This was the first time for me doing an intake repair, especially on a C4 Corvette. I was learning as I go. The best thing I did was take good pictures along the way that I could refer to when putting things back together. I worked on putting everything back together over several weeks, there was no way I was going to remember off the top of my head where everything went. If you work on something like this frequently it’s not an issue. But doing if for the first time, and hopefully only time, pictures were invaluable.
How to remove your C4 Corvette intake manifold
Just a reminder. These instructions and pictures are from an L98 C4 Corvette (1985) specifically. It doesn’t cover the 1984 Corvette or the LT1 Corvette engines since they didnt have Tuned Port Injection although these should cover intake manifold repair.
Steps to remove your intake manifold
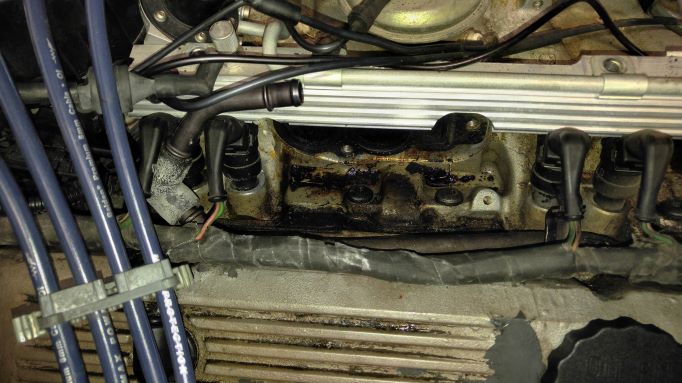
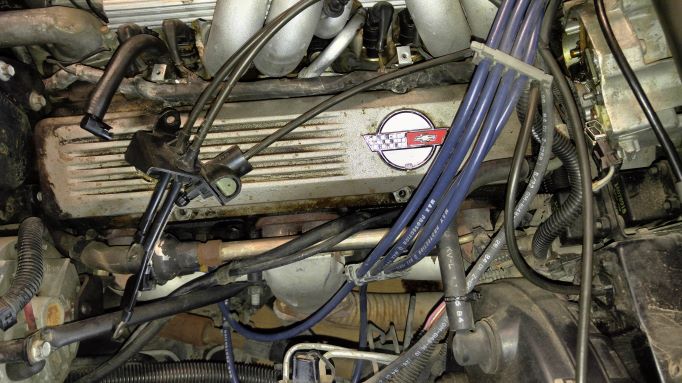
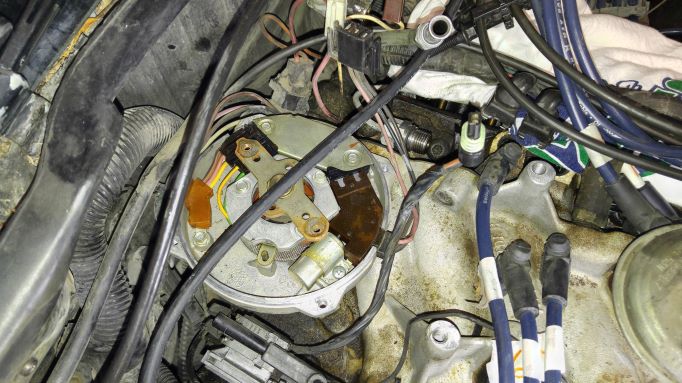
- Disconnect the battery
- Remove MAF sensor, flexible air intake duct and clamps from front of TPI
- Remove TPI and all other connected items
- Remove Plenum, the runners and cold start valve. On the runners there are some hidden bolts that can be hard to see. Verify all bolts are removed. Be careful when removing the plenum runner bolts, there are different lengths. Its best to label every bolt even if you plan to replace them. That way you will make sure to put the right length back during reassembly.
- Remove fuel rail bolts and fuel rail. Be careful here. This will also remove the fuel injectors and you will most likely have some gas spill. This is a great time to inspect your fuel injectors. If they look bad or you think they might not work correctly, replacing them now will save you time in the future. You can also try to clean or refurbish your current injectors.
- Disconnect the fuel feed pipe and the fuel return pipe.
- Disconnect heater hose at the rear of intake
- Remove distributor cap. Mark and remove distributor. Or get a good picture. Its important when reinstalling the distributor to get it no the correct place. Even being off by one tooth on the gear can cause problems. With tape, mark all of your wires before removing them from the distributor. You might think you know where they go but mark them to be sure.
- Remove air pump and corresponding brackets
- Its much easier to work on your manifold with the valve covers removed. I recommend taking them off during the process. Need to clean them up a little bit? Learn how to here.
- Remove bolts and intake manifold carefully, it is heavy. I left in a couple of bolts in a diagonal pattern and put wire between them and used the wire to lift the manifold. I also ordered new ARP intake manifold bolts from Summit Racing.
- Put something like a shop rag in each port in the engine heads and also put something down in over the engine opening to keep something you don’t want falling into the engine. It is extremely important to make sure nothing falls into the engine. If something does, be sure you get it, all of it, out.
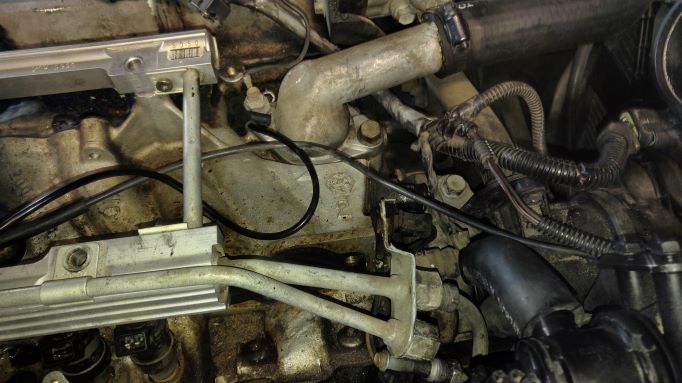
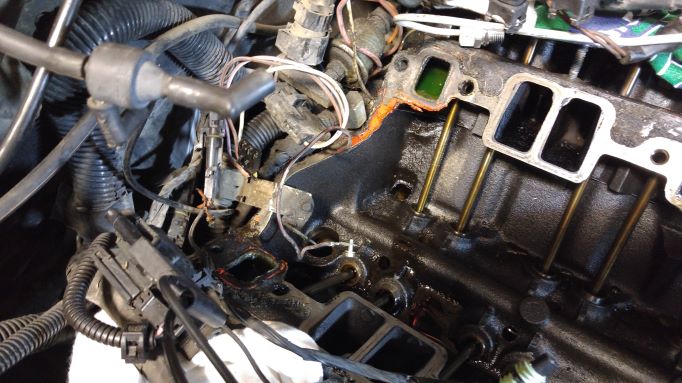
Getting ready to reattach the intake
Clean out all the holes and the threads on the bolts. I actually replaced the bolts, some of mine where stripped and not in great shape. When doing the reinstall you’ll need to use a sealant and you want all the old stuff cleaned off.
Clean off all the old sealant and any other substance used on the bottom of the intake and top of the engine. Get a really good razer/scraper to get off all the old crap. I used an angle grinder to help clean off the material I couldn’t get by scraping. Once again, make sure nothing falls into the engine during this process.
A trick I read about was to take a hole punch and dimple the china wall and the part of the intake that will attach to the china wall. This will give the sealant a little more to grip a hold of when reattaching the intake. I did a dimple every half inch or so. This will hopefully help things last a lot longer. Don’t get to close to the edge, you don’t want to chip a section off on the edges.
Get a good high quality gasket for your intake. Also, gets some Right Stuff silicon sealant. It works great to seal that pesky china wall. Get and replace the EGR gasket as well while your in there.
Putting the intake back on
Make sure all of your surfaces are super clean. If not sure clean them again.
Put a thin layer of you silicone sealant around the intake ports and water ports. Now place the gaskets in place and press the gasket gently into the sealant. Be sure to use sensor safe sealant. You don’t want to damage your 02 sensor. I used the RVT sealant. There are other quality ones as well from any of the auto part stores.
If you have any sealant overflow into the ports be sure to wipe them away. Now place another thin layer of sealant on the new intake gaskets. Once again, be sure to focus on the ports. I used my finger to smooth things out. Wearing a rubber glove will make things a little less messy. You don’t want any getting in the ports so make sure to use a very thin layer.
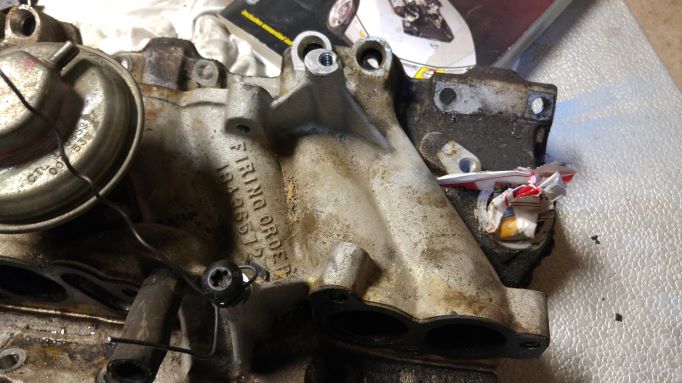
A little in the airway is OK, it won’t affect your engine but using a thin layer will keep it to a minimum.
This next step is very important to keep your engine from leaking again in the future. Do not use end seals that may come with your main gasket. These typically do not last. You don’t want to have to do this again in the near future. Run a good size bead, close to 3/8″ thick a long both ends of the engine, front and back on the china wall. Run the bead with no gaps and from head-to-head and as consistent as possible.
Now, very carefully and putting the intake straight down, set the intake manifold back in place right after applying the sealant. You do not want the manifold to move back and forth after you set it down. This will mess up the bead you just applied. As I just mentioned, go-slow and set it down using the bolt holes as a guide.
Now take your cleaned intake bolts or new bolts which is what I did. Ant-seize is also a good idea. This should help prevent vacuum leaks as well. Make sure no foreign material falls into the engine. Also, check again to make sure something had’not fell in during the whole process.
Now hand turn all the intake bolts slowly following the correct bolt sequence for your particular engine. I got mine from the shop manual I purchased (see here). I’m sure there is a good reason to follow the pattern so don’t rethink it. Now start to slowly torque the bolts down in small increments, 5lbs-10lbs at a time. To be sure use a torque wrench here and tighten to the specif amount
Let the manifold sit now for an hour or 2 and re torque. Probably a good idea to check them a third time since the bolts could become loose as the sealant sets. If you have sealant come out the side by the block or heads wait for 24 hours before trying to remove. This will keep you from removing some sealant you don’t want to remove. After 24 hours cut the excess off with a razor or other sharp object.
Now you can put everything else back on the intake manifold.
Conclusion
Removing everything above and replacing your intake manifold isin’t really that difficult. Take you time and do it right. I took me a few weeks to do mine but I took my time and worked on it when I could. I took good picutres which I refered to during the reassembly of plenum, runners and of course all the little hoses.
Be sure to get your distributor back together correctly. On my first attempt I was off just one tooth mark and its amazing how something seeming so small will impact how crappy your engine runs. Also be sure you get all those little hoses back in their correct spots. Once again, another great reason to own your own factory shop manual.
Did I miss step or something that would make things easier? Notice something in my instructions I can improve on? Please leave a message below and I will get back to you in a day or so.

